
 First of all hit the dollar store and pick up two bandanas. These were $1 each and are 100% cotton, so I prewashed them so they won't shrink afterwards. I prewashed the previous ones as well, but on subsequent washings the colour bled a bit, so be warned!
Next, we're going to shir each bandana. There's lot's of shirring tutorials out there, but here's what I do.
 Wind the bottom bobbin with elastic thread. Don't stretch the thread tight as you wind it, but don't wind it loosely either. Then place it in your bobbin holder. I've used both a side and drop-in machine and they both seem to work fine.
Sew a few rows along the edge of the bandanas. It can be kind of tricky to get the rows perfectly straight, so go ahead and mark it (I'm too cheap to buy a water soluable marking pen, so I just grab a piece of chalk off Ashton's easel!) Less rows will make more of an empire waist line. I decided on 5 for this one. Don't worry about how gathered your lines are at this point. (left picture)

 To gather your sirring simply pull the bottom bobin thread (the elastic) to your desired width. Repeat with all the rows, making sure both front and back are roughly the same width (right picture)
So that the elastic ends don't slip after trimming and so that they don't stick out and tickle, I sew the front and back together using a french seam. With a french seam you sew the sides firstly with the WRONG sides together, then turn and sew again with the RIGHT sides together. Obviously your second seam will be a little wider so you don't see the ends of your first seam poking out.


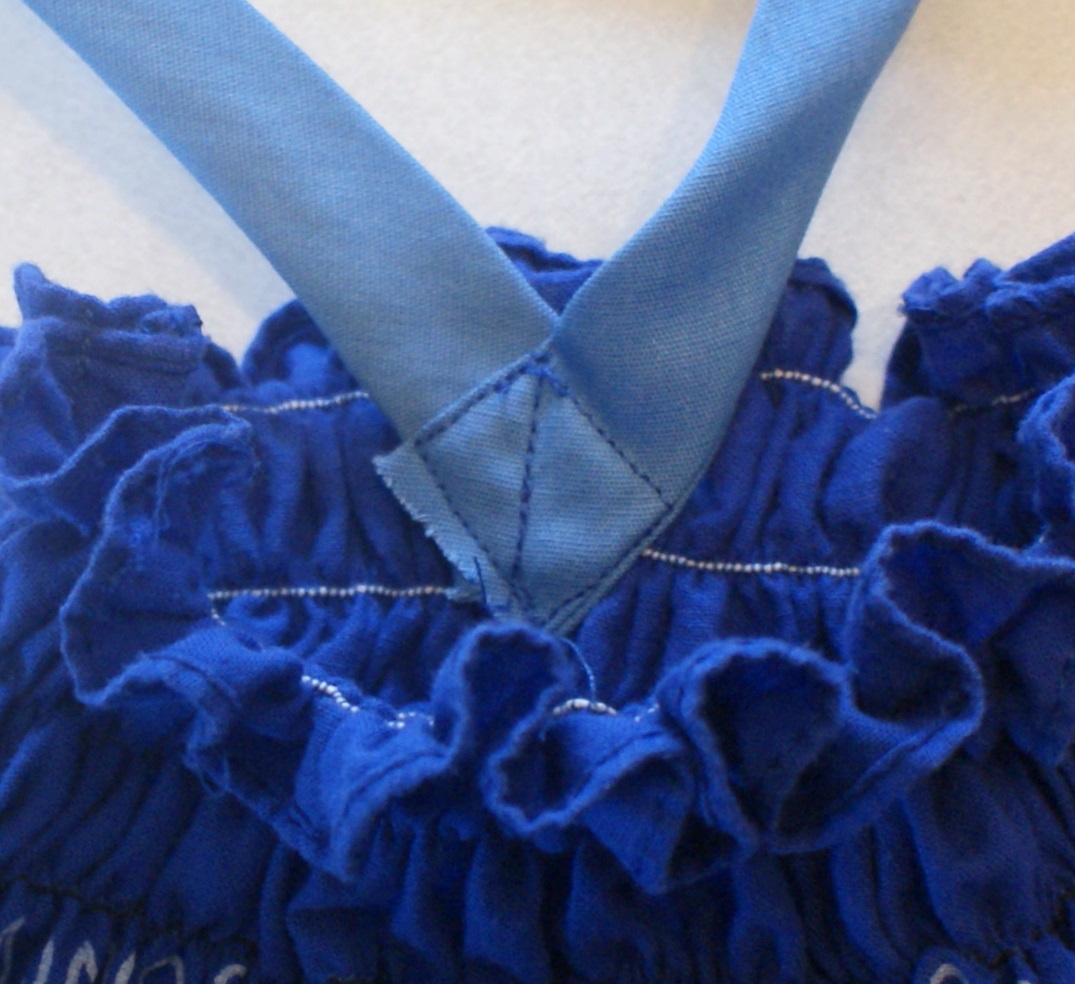 To make the halter tie sew two ribbons together at a right angle (left picture) Or if you don't have any ribbon that matches your dress, grab some scrap fabric (or bias tape, or whatever works) and sew a small tube to flip right side out. Then sew the right angle of your ribbon to the front of your dress.
And VOILA you're done! Pretty easy, hey?

Feel free to ask me any questions you may have and I'll do my best to answer them! Have fun!
Featured on Tip Junkie
so cute is this a toddler size?
ReplyDeleteThat's the beauty of this kind of dress - you can make it whatever size you want! Just don't pull the elastic tighter than your child's chest size.
DeleteThats really cute. So what do you use for the thread that goes through your needle? Thank you!
ReplyDeleteJust your regular thread. Usually one that matches the fabric.
Delete