

Perfect by a little reading corner! So my little brain got to work: How can I make this without 1. going to buy lumber and transporting it home on top of the car seats and 2. Cut the lumber without wading over top of DH's mess in the garage. The answer came as I was organizing the complete disaster downstairs: SHIMS! (y'know, those little wedges used to make the jam level when installing a door - I think they're usually made of ceder) There were two lovely packs sitting there waiting and waiting to be used, so I thought, why make them wait any longer? So I went and grabbed the prettiest ones (some are a little cracked or knotty) As stated before, although I can use power tools, I didn't feel like wading through the mess, so to create the points for the arrows I used a utility knife. Just made a few cuts and voila beautifully pointy shims! To 'antiquify' the wood I let some steel wool sit in white vinegar for a few hours, then brushed the mixture on the wood. (wherever the bits of steel wool hit the wood, there ended up being little rusty speckles. And I also antiqued my ugly laminate counter top in the process - reason #52 for a new kitchen...)

I had envisioned doing each sign in some lovely font which went with the story, but that never occurred. Just painted some block letters on with black acrylic and outlined with white.

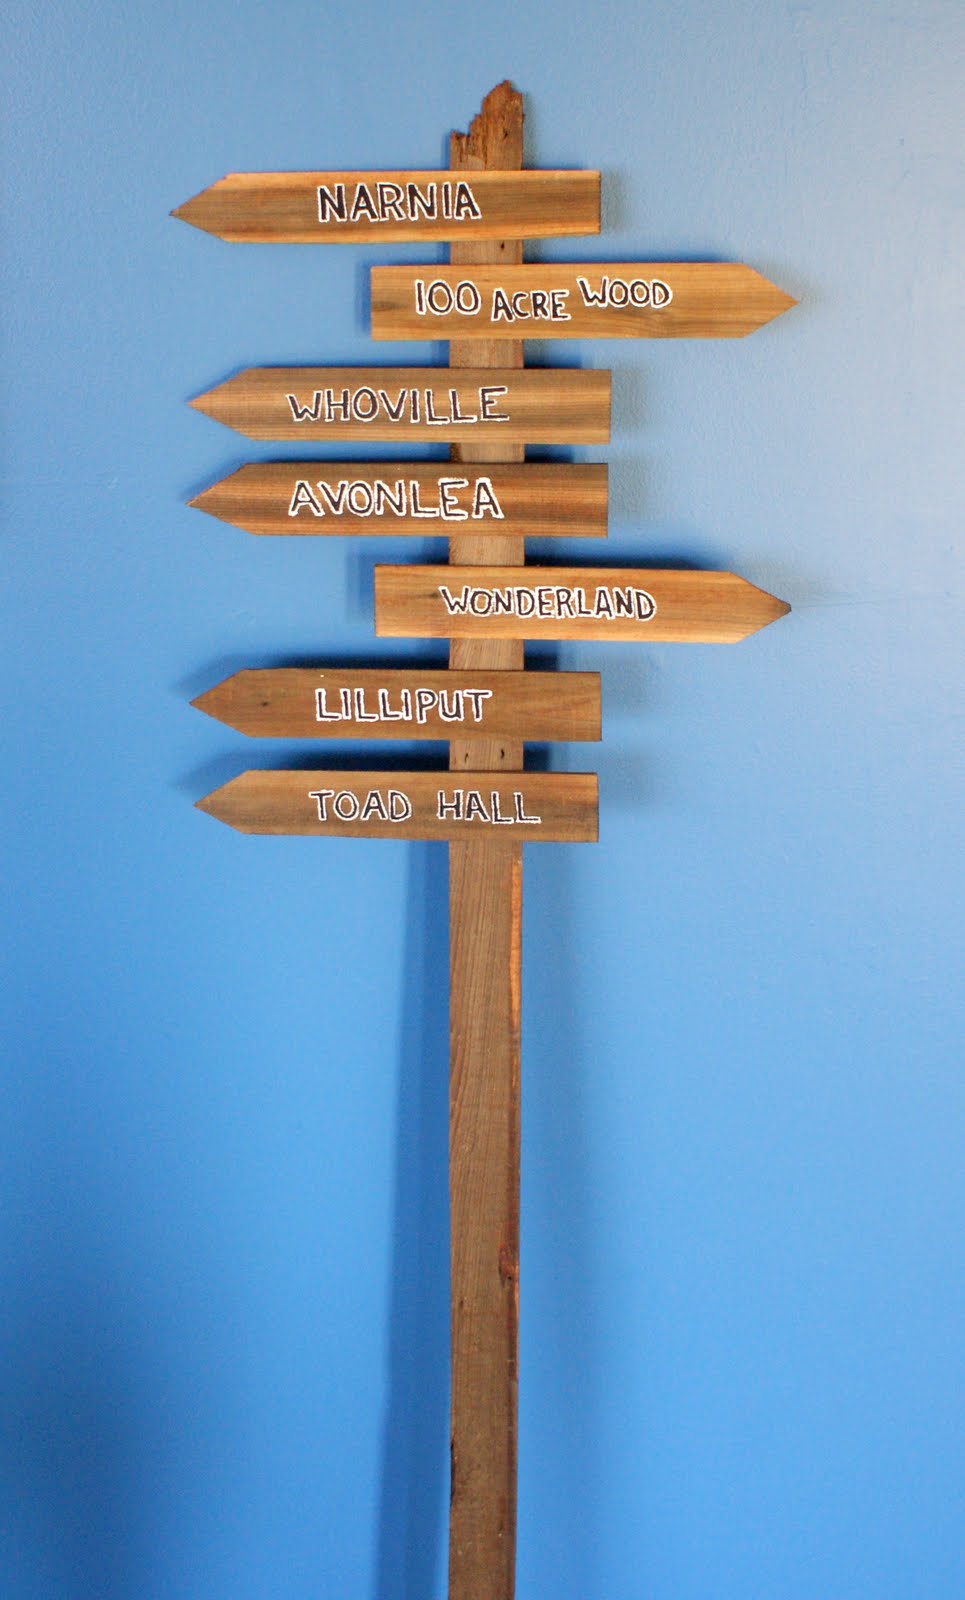
I chose locations in stories which I had read as a child (okay, who am I kidding, that I still read now) Mounted on a scrap piece of wood (also 'antiqued') with wood glue, I think it looks pretty good!
I also saw this sign from artsy fartsy mama that I thought would 'match' pretty well

So here's my version:

Shims lined up, one glued across the back holding it all together. I decided not to 'antique' this one. And how did I get the font? Well I'm glad you asked! After brainstorming quite a bit I thought of this really easy way to transfer images to a non-smooth surface. All I did was print the text (backwards!) on a transparency. With an ink jet printer the ink does not dry (make sure you're not using an 'inkjet transparency') Flip the transparency ink side down, place on wood (no wiggling, you'll smudge it) and rub. The ink should transfer so that you can go over it with the paint colour of your choice! Done and done.
My hubby's comment when he saw my 'creations' "How do you expect me to hang the doors if you keep using all the shims?" Ha ha.
UPDATE: YES, I MISSPELLED ROALD DAHL'S NAME. IT'S FIXED NOW...OOPS!
Hello Jess: Have fun decorating the reading area. Just a comment, isn't Mr. Dahl's first name spelled as Roald? Check out the official Roald Dahl site http://www.roalddahl.com/
ReplyDeleteAw crap. Must've been 'spell-checked' out. Now to fix it...
ReplyDeleteI totally repinned that first picture... I have to make it at some point. Your quotes are great too. Thanks so much for joining the Mingle With Us Blog Hop this week:)
ReplyDeleteI love how these turned out! Great job! Also love the choices for names.
ReplyDeleteFound you via the blog hop & can't wait to read more of your blog! Have a great day!
Love your use of the shims!!
ReplyDelete